 EasyTicket
 Going abroad for a summer vacation and stuck on the question, “What should I use for data?” Here’s the bottom line: For a 3~7-day short trip, an eSIM is the easiest and cheapest option. Carrier roaming is expensive, a local SIM gives you plenty of data but requires opening up your phone, and pocket Wi-Fi only pays off when several people share it. This guide compares all four options, including cost, and lays out exactly what to choose based on your trip length and situation.
Four Main Ways to Use Mobile Data Abroad
There are four main ways to get online abroad: ① carrier roaming ② a local/travel SIM (USIM) ③ eSIM ④ pocket Wi-Fi. Each works quite differently.
- Carrier roaming: Your number stays the same, and service turns on as soon as you arrive with no setup. The downside is the price. SK Telecom’s flagship roaming plan, ‘baro’, starts at KRW 29,000 for 3GB over 30 days (source: SK Telecom).
- Travel SIM: Remove the original chip from your phone and insert a new one. It’s relatively affordable and offers plenty of data, but you can’t receive calls or texts sent to your Korean number while you’re abroad.
- eSIM: Scan a QR code instead of inserting a chip, and a digital SIM installs on your phone. You can keep your number for calls and texts while using the eSIM for data, which is why it’s the most popular option these days.
- Pocket Wi-Fi: Carry a palm-sized router and connect multiple devices over Wi-Fi. KT Roaming Egg in Japan costs about KRW 3,000 per day (5GB, then speed throttling).
The key question is: “Do you want to keep your number active while using data cheaply?” If so, eSIM is the answer.
eSIM vs. SIM vs. Roaming vs. Pocket Wi-Fi
A quick look at the numbers is the easiest way to compare them. The table below is based on a one-week trip abroad.
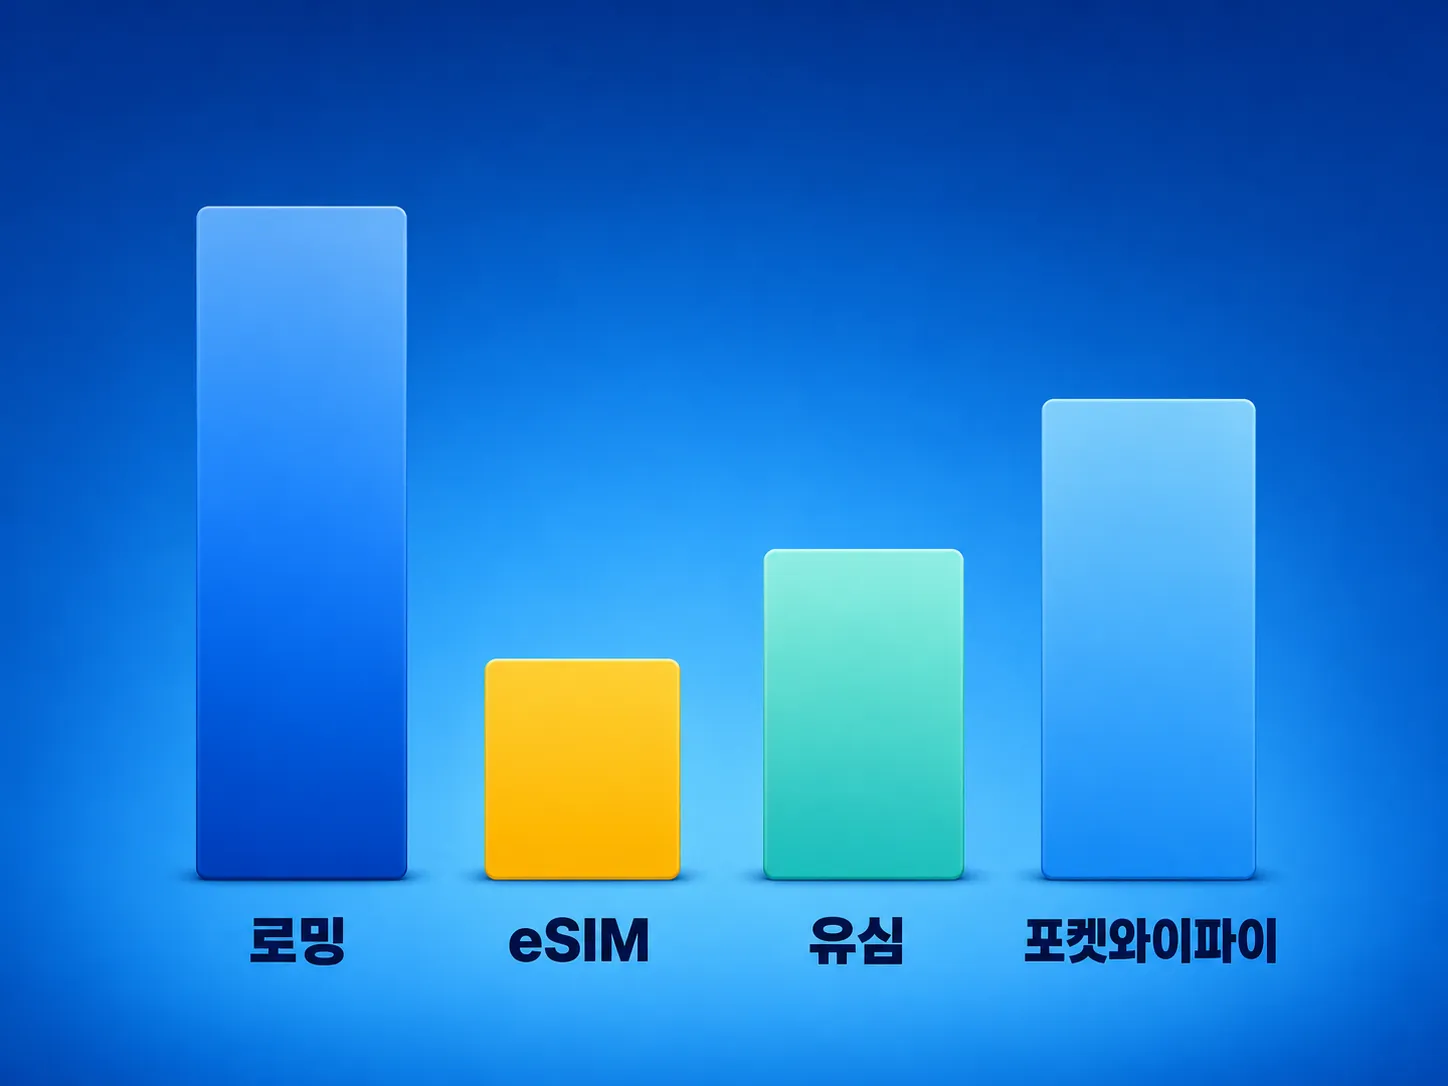
| Method | Approx. cost (7 days) | Calls and texts on my number | Pros | Cons |
|---|---|---|---|---|
| Carrier roaming | About KRW 29,000~79,000 | ✅ Stays active | Automatic, no setup | Most expensive |
| eSIM | About KRW 15,000~25,000 | ✅ Can stay active | No SIM swap; install in advance | Only works on supported devices |
| Travel SIM | About KRW 10,000~20,000 | ❌ Not available | Plenty of data | SIM can be lost; number blocked |
| Pocket Wi-Fi | About KRW 3,000~4,900/day | ✅ Separate phone | Share with a group | Device rental and charging hassle |
For a 7-day trip to Japan, carrier roaming costs KRW 77,000~105,000, while an eSIM costs KRW 15,000~25,000. For the same period, an eSIM is usually 50~70% cheaper.
Roaming is convenient, but KRW 70,000~100,000 is a lot for a trip of just a few days. That’s why most short-term travelers are switching to eSIM.
How to Choose by Trip Length and Situation
“What’s best?” is actually the wrong question. The answer depends on how many days you’re away, how many people are sharing the connection, and which country you’re visiting. Apply the guide below to your summer vacation plans.
3~7-day short trip (solo or as a couple) → eSIM
This is the most common scenario and where eSIM really shines. Install it at home in advance, then just turn it on when you arrive. Even unlimited plans cost around KRW 4,000 per day, so they won’t put much strain on your budget.
Heavy data use or a long stay → local SIM
If you’ll be streaming video or tethering all day, or staying for two weeks or more, a local SIM may offer better value for the amount of data. The trade-off is that you won’t be able to receive verification texts sent to your Korean number during that period.
Families or groups of 3 or more → pocket Wi-Fi
Sharing one device can bring the per-person cost way down. Split KRW 3,000~4,900 per day among 3~4 people, and it often costs less than buying several eSIMs. The catch is that you have to carry the device and charge it every day.
If setup feels like too much hassle → roaming
If convenience matters more than price, roaming is a perfectly good choice. Discounts sometimes open up for first-time roaming users in their 20s~30s, so it’s worth checking your carrier’s app once before departure.
eSIMs work only on supported devices. iPhones generally support eSIM from the XR/XS onward, and Galaxy phones from the S20 onward (excluding some unlocked and overseas models). Check that your phone supports eSIM before you pay for a plan.
How to Set Up an eSIM (iPhone · Galaxy)
eSIM setup takes just 1~2 minutes with a QR code, much like installing an app. Here’s the process by device.
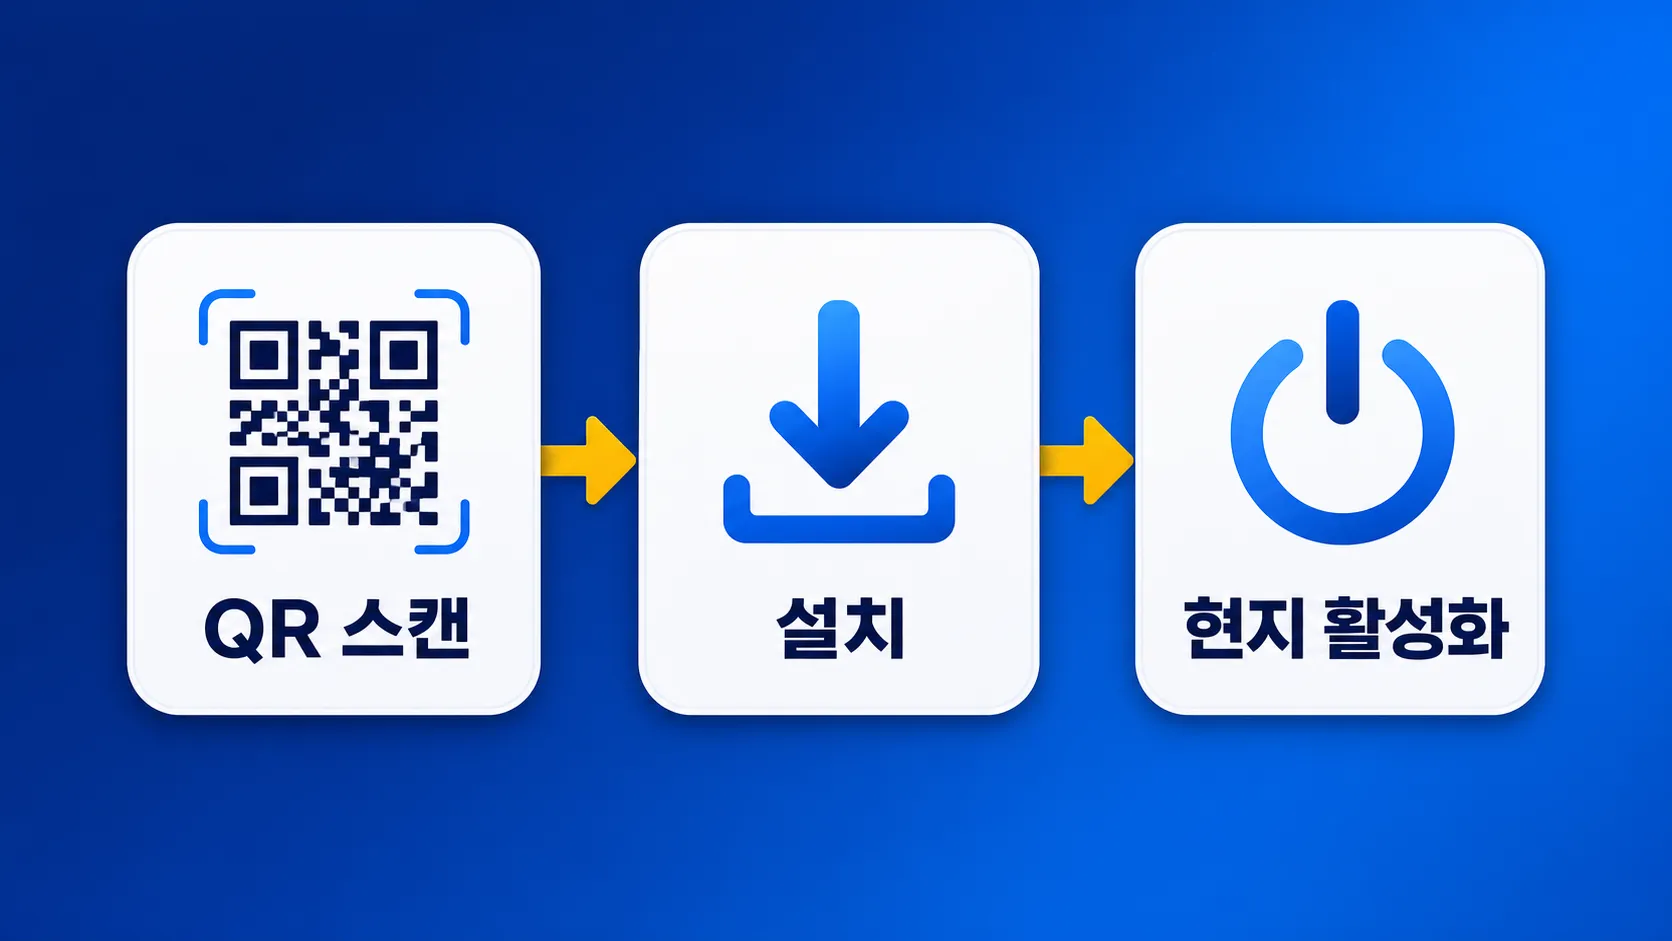
iPhone
Settings→Cellular (Mobile Data)→Add eSIM- Scan the QR code from the seller or enter the activation code
- Wait briefly for the profile download to finish
- Right after installation, leave that line OFF
Galaxy (Android)
Settings→Connections→SIM managerAdd eSIM→ scan the QR code or enter the code- Complete the profile download
Install the eSIM at home in advance, but leave the line turned off. Once you arrive at the local airport, turn on the eSIM and set calls and texts to your Korean number (primary line) while assigning mobile data to the eSIM line. You’ll still receive verification texts while using data at a lower cost.
How to Avoid Bill Shock
Trying to save money can sometimes lead to a surprisingly high bill. Follow the points below and you’ll be fine.
- Turn OFF data roaming on your primary line — Even if you’re using an eSIM, charges may apply if data roaming is enabled on the Korean-number line.
- Set mobile data to the eSIM line — On iPhone, switch the line selected under
Mobile Datato the eSIM. - Turn ON data roaming for the eSIM line — The eSIM uses a local network, so roaming must be enabled for this line to connect.
- Turn off automatic updates and cloud backups — This prevents large background data usage.
- Check the installation before departure — Install the profile at home in case you can’t receive the QR code after arriving.
An eSIM’s QR code often can’t be reused once the eSIM has been installed. If you delete it by mistake, getting a reissue can be a hassle, so don’t delete the profile before your trip is over.
Frequently Asked Questions (FAQ)
How do I receive KakaoTalk verification texts after installing an eSIM?
Keep your primary line (your Korean number) turned on and set calls and texts to that line; verification messages will arrive as usual. Use the eSIM only for data, and you’ll be fine. Just remember to turn off data roaming on your primary line.
If I’m visiting several countries in Europe, do I need to buy a new eSIM for each country?
No. Regional eSIM plans bundle multiple countries in Europe or Asia, so one purchase works across all of them. Buying a separate plan for each country can actually cost more.
Why did my unlimited eSIM suddenly slow down?
Many unlimited plans reduce speeds after you pass a daily usage threshold. Pocket Wi-Fi and SIMs often have the same kind of “speed throttling after a certain number of GB” condition. Always check the plan’s speed-throttling terms before you pay.
I need internet as soon as I land at the airport. Will an eSIM work?
If you install it in advance, the eSIM connects to the local network as soon as you turn on the line after leaving the plane. That’s why it’s especially convenient if you need maps or a taxi app right away.
In short, an eSIM is the cheapest and easiest choice for most short overseas trips. Choose a local SIM if you’ll use a huge amount of data, pocket Wi-Fi if you’re traveling with a larger group, and roaming if setup feels like a hassle. Check that your phone supports eSIM before you leave and install it at home in advance, and you won’t have to worry about data on this vacation.